When the new mowing season arrives, our surroundings are echoing with the familiar noises. These noises arise from every house that has a beautiful lawn to take care of.
Yep, as the owner of a garden myself, I do know how it feels hearing the mowing sounds everywhere. The thing is when dealing with lawnmowers there are many issues that just surprise you.
One such major issue is the question is “how to clean lawn mower carburetor”. So, what does the carburetor do? You should already know the answer but, let me say it quickly to you:
“The Carburetor is the heart of a lawnmower”
Same as us that our life organ is the heart that supplies the right amount of blood in our body. The carburetor work is to provide the optimum mixture of air and gasoline to run the system.
Table of Contents
The Reasonable Reason
In many cases, the lawnmowers are abandoned after use and left unchecked. They don’t get the needed attention and care. That’s the very reason for them being the culprit behind the dropped functionality of the machine.
The result is the lawnmower does not last very long and fades out very quickly. This disappoints your expectations.
Truth You Should Know
Now, that’s the reason for you. So, how does it take place? In simple words, the debris, twigs, and grass usually get stuck in the lawnmower. The lawnmower blade kicks the small pieces up which goes into the engine. Along with that some of it also travels into the carburetor.
Well, that’s not a problem because only tiny pieces are traveling to the carb. Not a big deal you can just relax. But it becomes a pain when the same tiny pieces get stuck again and again in the carb throughout the mowing season.
The same debris clogs the air and fuel lines. Causes overheating, damages the engine, and speed controls ability. You’re unable to control the lawnmower speed. Ultimately reducing the mower’s overall performance.
To be brutally honest the “life of mower”. And the next year you are fixing the mower rather fixing your lawn.
What You Will Learn
To solve this issue, I stacked up the needed points into an actionable step guide. The guide will give you precise and clear-cut instructions on how to clean the lawn mower carburetor?
Also do know this guide only suits the gas mowers. Neither the battery-powered self-propelled mowers nor the cordless electric mowers are impacted.
Steps on How to Clean Lawn Mower Carburetor
Many people are not confident enough to deal with this challenge. They don’t want to do the mower surgery. The thought is to get the mower to the professionals and let them handle the work.
On the flip side of the coin, most people can fix this issue. So, you don’t need to worry about it too much. In reality, it’s very easy and quite amazing to do it. Just like you’re solving a jigsaw puzzle.
1. Be Safe
When it comes to repairing, garage, DIY work. Always, have a safety backup plan ready at all moments. That’s a “General Rule of Thumb”.
In the case of cleaning carburetors, the old fuel that remains inside the carburetor contains a lot of impurities and becomes a highly toxic substance. So, make sure the place you’re working in is properly ventilated.
2. Be Smart
The next thing you need to be wise. Take snaps of the steps from the start when you are opening the carburetor. Yeah yeah! I know it sounds childish. But that rule applies to the newbies who are doing this first time.
In many cases, beginners usually forget which part goes where. The result, you’re stuck with a jigsaw puzzle that can now only be solved by the professionals.
Taking snaps will help you remember the placement of different components to their rightful places. Another great thing is that you can use those pictures again and again.
Rather than paying a visit to the repair shop you can save time and fix the carburetor yourself. It saves your money and the hassle of transporting the mower to the repairer as well.
3. Case 1 – Is the Air Filter the Culprit?
Moving forward we are now going to deal with different case scenarios that might be the cause of poor mower performance. The thing is, if the mower is not running properly all the time, the blame usually goes to the carburetor.
Before, you blame the carburetor first check the other components of the mower. Because they may be the real cause. People usually get overly cautious or overly excited and name the carburetor as the “Culprit”. In reality, the culprit can be another part.
So, the 1st case is the “Air Filter”. Check the air filter properly. See if there is debris stuck to it. Mostly a clogged air filter is the problem maker and can be the cause of black smoke emission from exhausts.
Plus, the smoke will also block the carb from getting the needed air for proper functioning.
4. Case 2 – The Linkages
Up next are the linkages that are set up with the carb. These connections run from the carb itself i.e., the choke plates and throttle. With the passage of time, the accumulated debris and dirt put both of them into a sticky situation.
They both get bound to each other and the debris stuck between the linkages and blocks them from proper functioning.
So, here is a tip for you. Spray a “liquid wrench” on to the linkages. The liquid will clean the linkages. It’ll also repel water and prevent inhibiting dust.
5. Case 3 – Verifying the Spark Plug
After the linkage examination, verify the spark plug. Ensure that the plug is fitted properly and not dirty. If it is then clean it properly.
Sometimes a faulty spark plug does become a hindrance to the mower working. If you have some doubts then replace the spark plug with a new one.
6. Case 4 – The Funny Thing
You know small things really do give us a big hassle. Before you move towards the carb surgery do check the fuel. The funny thing is in the midst of problems we humans do forget the basics.
So, verify that carb has fuel in it. If it has then turn the ignition to the right side.
A Helpful Tip: Now, I need to give you a tip. Use a carb cleaner in the carburetor and then hit the ignition. If it starts and gives a spluttering sound, then mower is busted!
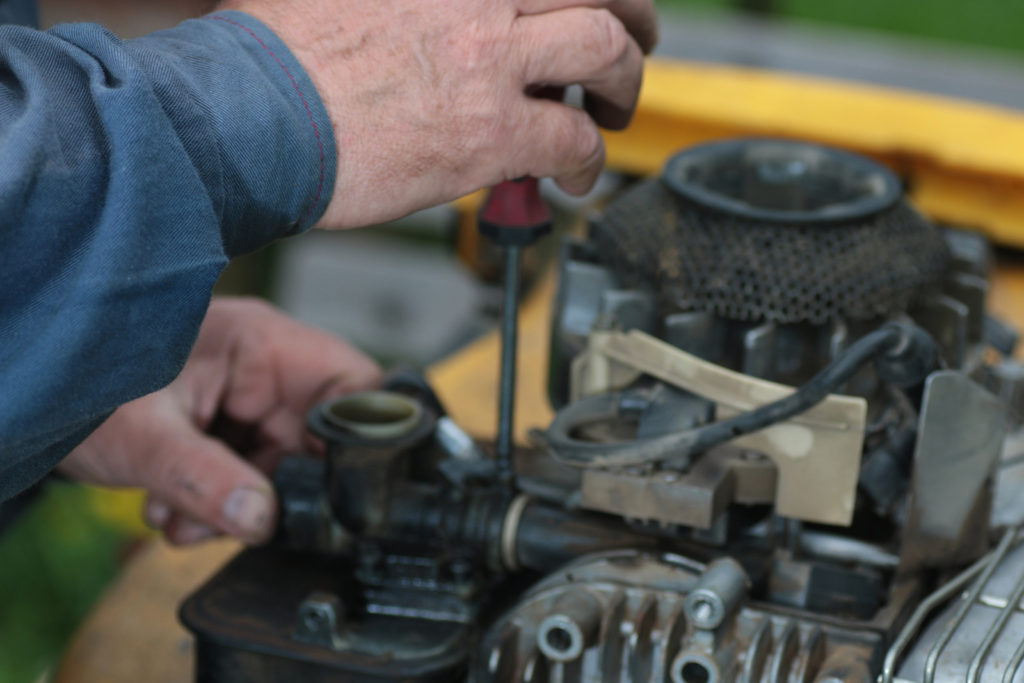
7. Unbolting & Removal
Before proceeding to the unbolting process, you should know one more thing. That opening up a carb in totally dependent on the model you’re using. In general, you only have to loosen up some bolts to remove the outer cover in most cases.
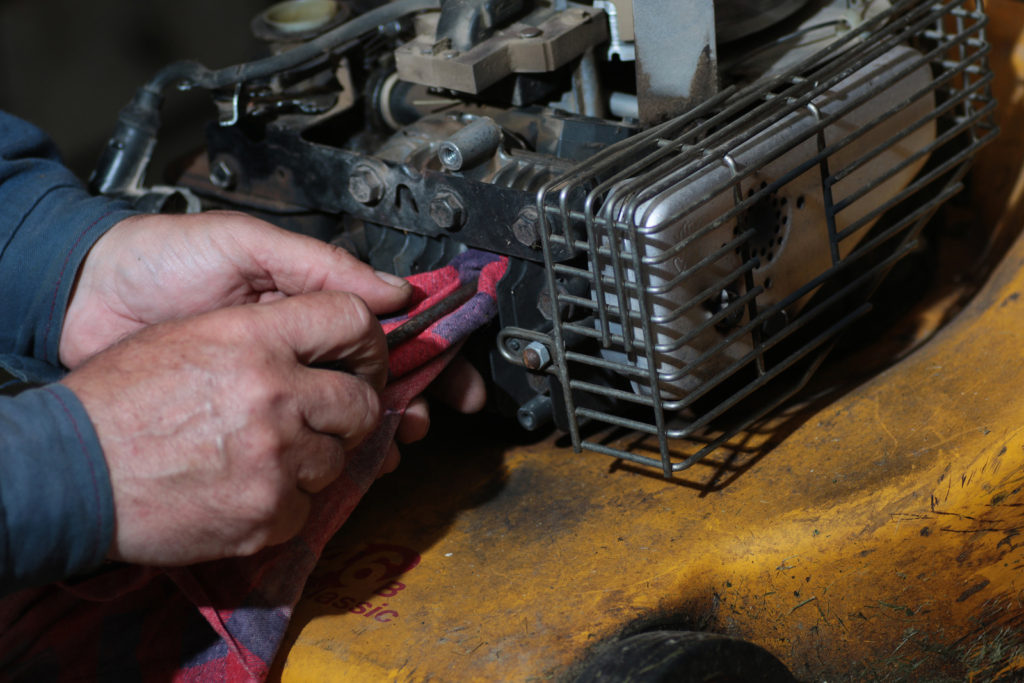
So, mate… get to work and unbolt the carb cover and slowly take the fuel line out. During this process, some of the fuel will spill out. So, use a cloth or rag to clean the mess.
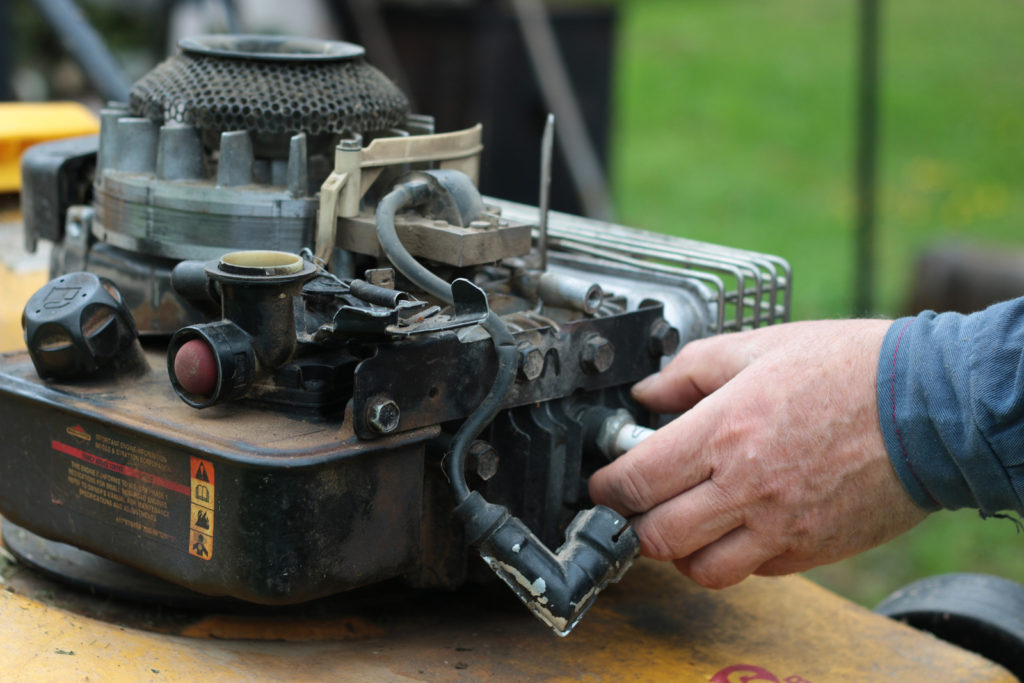
8. The Fuel Line
Another case scenario you should take into consideration is the fuel spilling. Every time you’re opening a carb there will always be a minor fuel spill.
If it doesn’t happen, then you have a different problem to deal with. So, check if the fuel line is blocked. If it is clogged than clean it.
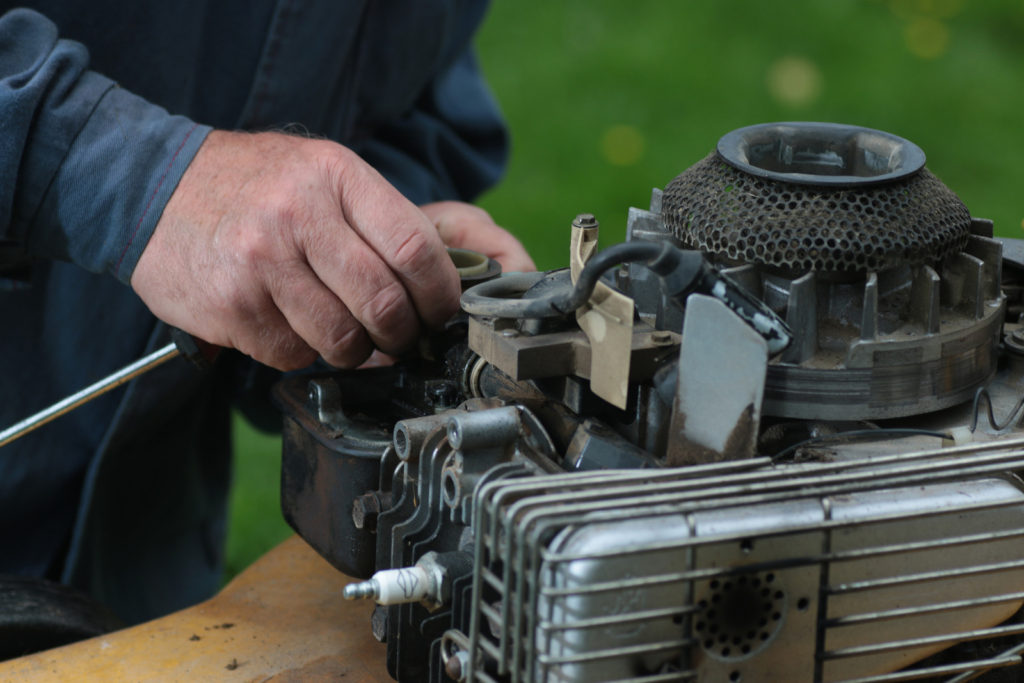
9. The Bowl
Now, proceed to open the carb bowl. Before opening, squirt a splash of cleaner spray to clean the debris or dirt around the bowl.
The bowl is bolted with a single nut from the bottom. As it turns out that the nut also acts as a jet with a hole. So, make sure to check the hole for any blockage.
Use a small needle-like or a pin-like object to clean out tiny debris particles. These particles can also be the culprit behind carb not functioning.
10. The Nut
Don’t forget the nut. In older gaskets, the nut is also covered with dirt. Scrape it off with a squirt of the carb cleaner.
What if the bowl is damaged or has debris beyond cleaning? Then replace it with a new one.
11. The Needle
Huff! That was it. Now, you’ll see a float attached to the bowl with a thin pin. Remove the pin and the float will come off. You’ll see a needle, replace that needle with a new one.
Inside the hole where the needle sits is a seat. That seat should also be replaced. Now. you’re ready to install a new needle with a seat.
12. Role of Carburetor Cleaner
Aaa! Finally, it’s time for some spray action. I was waiting for it myself. Now, Use the carb cleaner to clean all the carb parts thoroughly. The cleaner will flush out all the annoying dirt from holes.
You do have to clean through the various holes and crannies in the carburetor. Use a pin or thin small wire to scrape all the holes.
13. Replacing the Gasket
There is a frame between the carb itself and the bowl. This part is known as the main gasket. Also, check this one and replace it with a new one.
14. Reassembling the Carburetor
Finally, see all the holes are squeaky clean. Now, reassemble the parts. Here, I suggest you see the pictures that you took during the cleanup process. Those pictures really come handy in time of need.
Connect and bolt all the parts of carb and attach the carb with your mower’s engine. Add the fuel, attach the spark plug, and turn on the ignition. If the problem is fixed, the engine will start smoothly.
15. The Problem is Still There
So, if the mower doesn’t start. Then you have had it. Now, you have to take it to the repair shop. The professionals will guide you through how to clean a lawn mower carburetor.
They will give critical advice, maintenance tips and tell you a schedule when you should clean the carb of your mower.
Lawn Mower Carburetor Cleaner – How to Clean
Author’s Bio: Hassan Kurd is a cool-headed, optimistic guy and the Founder of Tool Miner
Disclaimer: This is a guest post article and we have not verified the contents and recommend that if you have any doubts to seek personal advice from a professional lawn mower repairer.