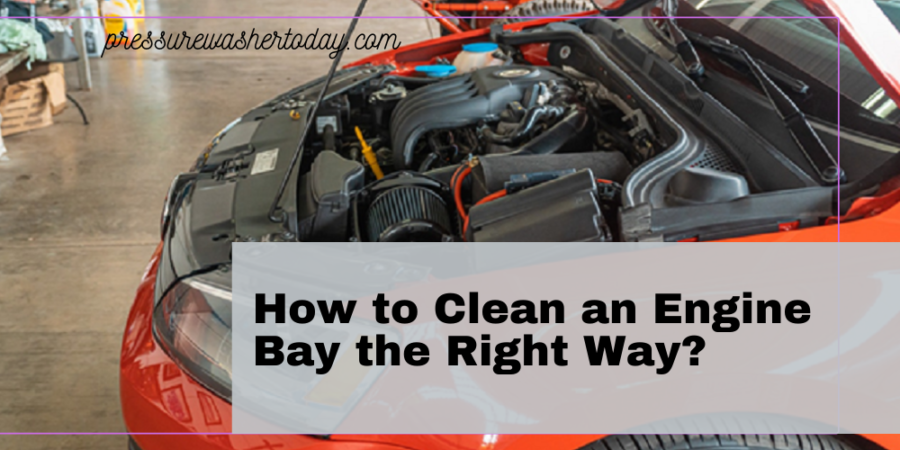
Do you realize the importance of learning how to clean an engine bay? If not, then find out why, how, and where to all your vehicle cleaning queries here.
Skip it all for a while and think of a cleaned and shined-up car. For sure, the image is attractive enough to encourage you for a drive. It is because drivers can understand the importance of well-maintained vehicles. However, when it comes to the cleaning of your engine bay, focus on the right tools.
An engine bay is available in multiple shapes and sizes. For this reason, it is better to understand the details of your car before proceeding.
Most car owners think of it as a stressful task. Nonetheless, cleaning the engine bay is similar to maintaining other areas of your vehicle. One must realize that maintenance on the inside is as necessary as outside appearance. In your guide for how to clean an engine bay, mark some rules before you begin
Remember, ENGINE MUST NOT BE BURNING HOT. Warm-up your car for not more than two minutes and turn off. A slightly warm engine helps in getting rid of the dirt buildup quickly.
Many people do not understand the necessity of cleaning the engine bay. Look below to find out.
Table of Contents
Importance of Learning How to Clean an Engine Bay?
The fact that a dirty engine bay does not hinder your everyday driving keeps people away from cleaning it. However, keeping it dirty can be troublesome later on.
Leaving the engine bay greasy can be annoying while searching for oil leaks and damages. Also, it increases the risk of getting your engine bay on fire. It is because the flammable fluids can cause reimbursements to the manifolds.
Additionally, it also seems annoying when a mechanic tries to do any sort of work on your car. There are particular tools one must-have for knowing how to clean an engine bay.
1. Mandatory Tools
- Variety of solid fiber-bristled brushes
- Dust mask
- Microfiber fabric
- Rubber gloves
- Safety glasses
- Screwdrivers
- Spray bottles
- Wire brush
In case of cleaning at home,
- Drip pans
- Garden hose
- Garden watering wand
2. Mandatory Materials
- Degreaser
- Electrical tape
- Plastic bags
- Zip ties
In case of cleaning at home,
- Absorbent pads
How to Clean an Engine Bay – The Complete Guide
Here is a step by step guide for helping you learn how to clean an engine bay.
1. Selecting the Location
You must know that the materials from a vehicle’s engine bay are toxic in nature. They can damage the environment. It is strongly recommended that you keep wet and dry materials away from any sewerage system. However, this trouble only arises when you are cleaning at home.
The best escape to this problem is a self-service or car wash center. These have an appropriate system for extracting dangerous elements from the water before disposal.
2. Prefer a Warmer Day
Weather is a crucial factor to consider before cleaning the engine bay. Make sure to select a warm day for the job. It is because warmer weather with low humidity helps in drying the engine. Particular areas in an engine bay do not allow water to leave automatically.
Therefore, the weather helps it to dry completely. Also, make sure the weather is not rainy as it can get your car dirty and damage the engine bay.
3. Help the Engine Cool
As mentioned above, make sure not to perform the task in a heated car. If you are performing the job at home, avoid cleaning the engine bay if cold. Start your vehicle for about two minutes and turn it off for slightly heating it.
However, if you have any plans to drive away to an open area or a self-service car wash, then let your engine cool. Wait for at least fifteen minutes to make sure the engine bay is not overheating. This strategy will help you with cleaning and remove the grease and oil quickly.
4. Protect Essential Parts
Before you start cleaning, make sure to tighten all the caps and covers for avoiding any mishaps. Now, protect the parts where water must not enter and disconnect the battery. For example, the alternator, air tanks, coil packs, and electronic control unit must be covered.
Seal these tightly for preventing any leakage. Focus on wrapping all the electric ties with plastic. Also, check for the spark plugs, and fuse bags can be damaged if care not taken. The other precautions depend on the type of four-seated you own.
5. Gear Up For Safety
Taking safety measures is mandatory while learning how to clean an engine bay. You cannot get into these parts without any protection. Remember, the grime you will be removing is hazardous. Therefore, it is necessary to protect your eyes, hands, and face.
Make sure you are wearing safety glasses, rubber gloves, and a dust mask. It will keep you from staining and prevent contact with harsh cleansers. For those who are cleaning at home, position a drip try exactly below the engine, and absorbent pads.
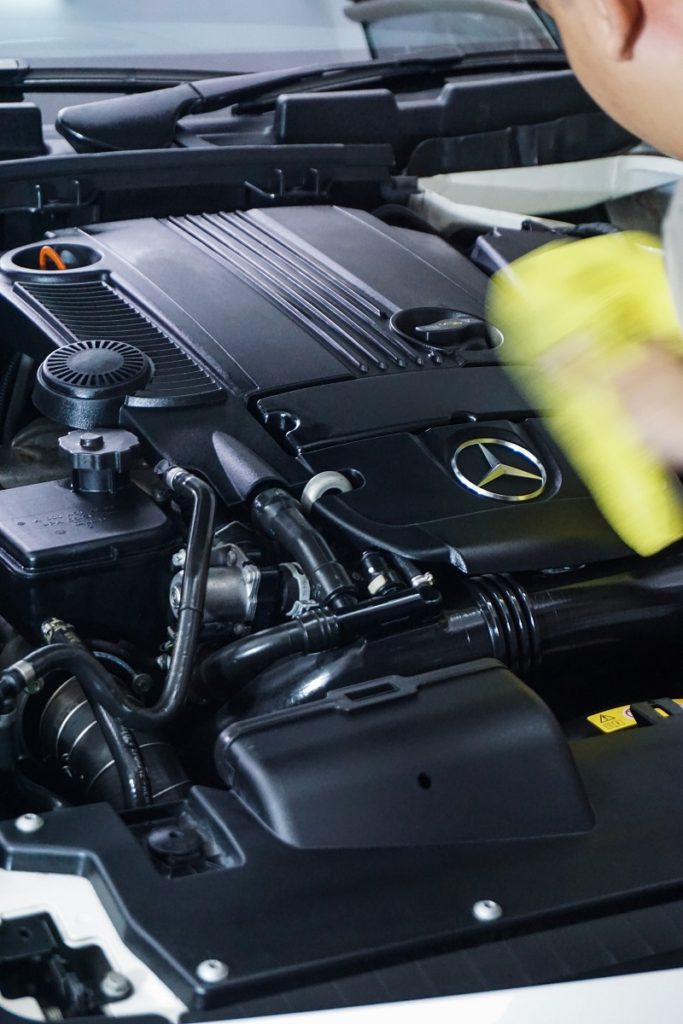
6. Start With Dry Clean
Begin by removing all the possible dry material. Vacuuming is preferable for taking away the grime in the engine. Now, with the help of brushes, you can get into the crevices and other cracks for swiping build up. For metal surfaces, use a wire brush.
However, the fiber brush will work for plastic surfaces. A vacuum will help you clean all the dirt loosened up from these parts of the engine bay.
7. Moisten the Surfaces
Spray warm water on the surfaces for moistening all surfaces. It will help you in cleaning quickly. Also, water will keep the degreaser from drying, which can lead to spotting in different parts. Moreover, a spray bottle helps in holding on the amount of water you are using.
Spraying is the finest way to involve a limited amount of water required. Another benefit of using warm water is learning about the parts that still may be hot.
8. Apply the Degreaser
A focused step in cleaning an engine bay is the application of the degreaser. Use a spray bottle to apply it on every exposed surface for working on areas with major grime. Leave the degreaser for about ten minutes while you shift your vacuum from dry to wet operation.
Now, collect all the contaminated built up of liquid. Those who are using a drip tray at home can also clean it through the vacuum.
9. Rinse the Engine Bay
In this step, you will rinse the engine bay slowly. Cleaners at home can control the flow of water and collect it back. Nonetheless, individuals who prefer the car wash center must know that water flow is high in these pipes. Therefore, it is necessary to handle the pressure in the water guns.
Use a cloth to clean any leftover areas and wipe dirt from parts where degreasing was not enough. Wipeout your entire engine bay now and collect the captured liquids. Utilize absorbent pads and vacuum in the procedure.
10. Dry Uncovered Parts
Use a blower now for drying the engine bay. Rest for an hour or so to completely dry every part. Unwrap all the electrical components for getting things back in place. Remove all the covers and check for caps again. Use a cloth and brush with some moisture to wipe any dirt on these areas.
Once the engine bay is completely dry, put the battery back in place if you removed it. Otherwise, re-install it. Remember, cleaning with a turned on battery can cost you the back seat, radio, and electronics.
Drive to Your Destination

Finally, start the engine to make sure it comes back to operating temperature. It will help you in cleaning any leftover moisture. Individuals working at home can discard the spoiled pads in a bag. For the contaminated water, gather it in a bag for safety. Transport both the collections to a hazardous waste collection center.
Here, your lesson for learning how to clean an engine bay ends. Now, run your car and start driving back.
Author bio:
Steve martin is a content marketer who works for Affiliate site – A best coupon codes Providing Platform. A writer by day and a reader by night; He is striving to make the most of the new opportunities that comes in his way and excels in everything he does.